How to Track NFT Listing Data on NEAR

Tracking NFT listing data on the NEAR blockchain involves several steps, from understanding how NFTs work on NEAR to interacting with the blockchain to fetch the desired information. Here's a detailed, step-by-step guide to help you get started:
Step 1: Familiarize Yourself with NEAR and NFT Standards
Learn about the NEAR Protocol
The NEAR Protocol is designed to make apps usable on the web. It aims to address some of the key obstacles in the blockchain space, including usability and scalability, through its unique architecture and consensus mechanism. Let's delve deeper into these aspects:
1- Architecture:
- Sharding: NEAR employs a sharding mechanism called "Nightshade" to achieve high scalability. Sharding allows the network to be divided into multiple smaller pieces, or "shards," each capable of processing transactions and smart contracts independently. This means that as more nodes join the network, it can handle more transactions in parallel, significantly increasing its capacity.
- Account Model: NEAR uses a human-readable account naming system, unlike the hexadecimal addresses found in Ethereum. This makes the user experience more friendly, especially for non-technical users.
- Smart Contracts: Smart contracts on NEAR are written in Rust or AssemblyScript, offering developers flexibility and the ability to write secure and high-performance code. These contracts are deployed on the blockchain and can manage digital assets, run applications, and more.
2- Consensus Mechanism:
- Proof of Stake (PoS): NEAR utilizes a PoS consensus mechanism, which is more energy-efficient than Proof of Work (PoW) used by networks like Bitcoin. In PoS, validators are chosen to create new blocks based on the amount of cryptocurrency they are willing to "stake" or lock up as collateral.
- Thresholded Proof of Stake (TPoS): NEAR's variant of PoS, TPoS, introduces a randomized selection process for block production, ensuring security and performance. Validators are selected based on their stake and the randomness factor, helping to prevent centralization and ensure network integrity.
Understand NFT Standards on NEAR
NEP-171 is the foundational standard for non-fungible tokens (NFTs) on the NEAR Protocol, crucial for developers, creators, and users. It defines essential aspects of NFT management, including ownership, transfer, metadata, minting, and burning, ensuring a standardized approach across the ecosystem. Here's a concise overview:
- Ownership and Transfer: Ensures secure NFT transfers, only allowing the owner or authorized accounts to move NFTs.
- Metadata Standards: Specifies the structure for NFT metadata, such as name, description, and media, vital for marketplace displays and user comprehension.
- Minting and Burning: Details the creation and destruction of NFTs, with controls to restrict these actions to certain accounts.
- Enumeration and Discovery: Facilitates listing and finding NFTs owned by accounts or within contracts, crucial for managing large collections.

Step 2: Identify NFT Marketplaces on NEAR
Research Marketplaces:
On NEAR, several NFT marketplaces have established themselves as key platforms for creators, collectors, and traders. These marketplaces leverage the NEAR Protocol's advantages, such as high-speed transactions and low fees, to offer vibrant ecosystems for NFT activities. Here's a brief overview of some notable ones:
- Mintbase: Known for its ease of use and flexibility, Mintbase allows users to mint, buy, and sell NFTs across various categories, including art, music, and virtual goods. It's a comprehensive platform that supports creators with tools for launching their NFT projects.
- Paras: Focused primarily on digital art and collectibles, Paras offers a curated experience that highlights quality artwork. It's popular among digital artists and collectors looking for unique pieces.
- Pluminite: This marketplace emphasizes rarity and exclusive NFT drops, catering to collectors seeking rare and limited-edition NFTs. It's designed to offer a premium NFT collecting experience.
Understand Marketplace Dynamics
Each NFT marketplace on the NEAR blockchain has its unique dynamics concerning listing, buying, and selling NFTs. Understanding these dynamics is key to navigating the ecosystem effectively. Here's a concise overview:
- Listing NFTs: Marketplaces vary in their approach to listing NFTs. Some may require creators to undergo a verification process, while others allow instant listings. Listing fees and the process to set prices (fixed or auction) also differ.
- Buying NFTs: Purchasing processes can vary, with some marketplaces supporting direct purchases through "Buy Now" options and others focusing on auction-based sales. Payment options may include NEAR tokens or other cryptocurrencies supported on the platform.
- Selling NFTs: Selling involves setting prices and possibly choosing auction types. Sellers need to consider marketplace fees, which can include listing fees and a percentage of the sale price.
Step 3: Set Up Your Development Environment
Install Node.js NPM & NEAR CLI:
To run JavaScript projects, including those interacting with the NEAR blockchain, you need Node.js and npm (Node Package Manager) installed on your computer. Here’s a brief guide:
- Download Node.js: Visit the official Node.js website to download the installer for your operating system. Node.js installation includes npm, so you'll get both tools in one go.
- Install Node.js and npm: Run the downloaded installer, following the prompts to install both Node.js and npm. The installer typically sets up everything, including adding Node.js and npm to your system's PATH, making them accessible from any terminal or command prompt.
- Verify Installation: Open your terminal or command prompt and run node -v and npm -v to check the installed versions of Node.js and npm, respectively. This step confirms the successful installation of both tools.
- Install NEAR CLI: The NEAR Command Line Interface (CLI) is a powerful tool for interacting with the NEAR blockchain. Install it by running npm install -g near-cli in your terminal.
Step 4: Use NEAR API-JS Library
- Install near-api-js: To facilitate interactions with the NEAR blockchain in your JavaScript projects, install the near-api-js library. Use the command npm to install near-api-js in your terminal. This library provides a set of tools and functions that streamline the process of communicating with the NEAR blockchain, managing accounts, contracts, and transactions more efficiently.
- Set Up Your Project: Create a new JavaScript file in your project directory. This file will contain the code for interacting with the NEAR blockchain. Choose a meaningful name for the file that reflects its purpose within your project.
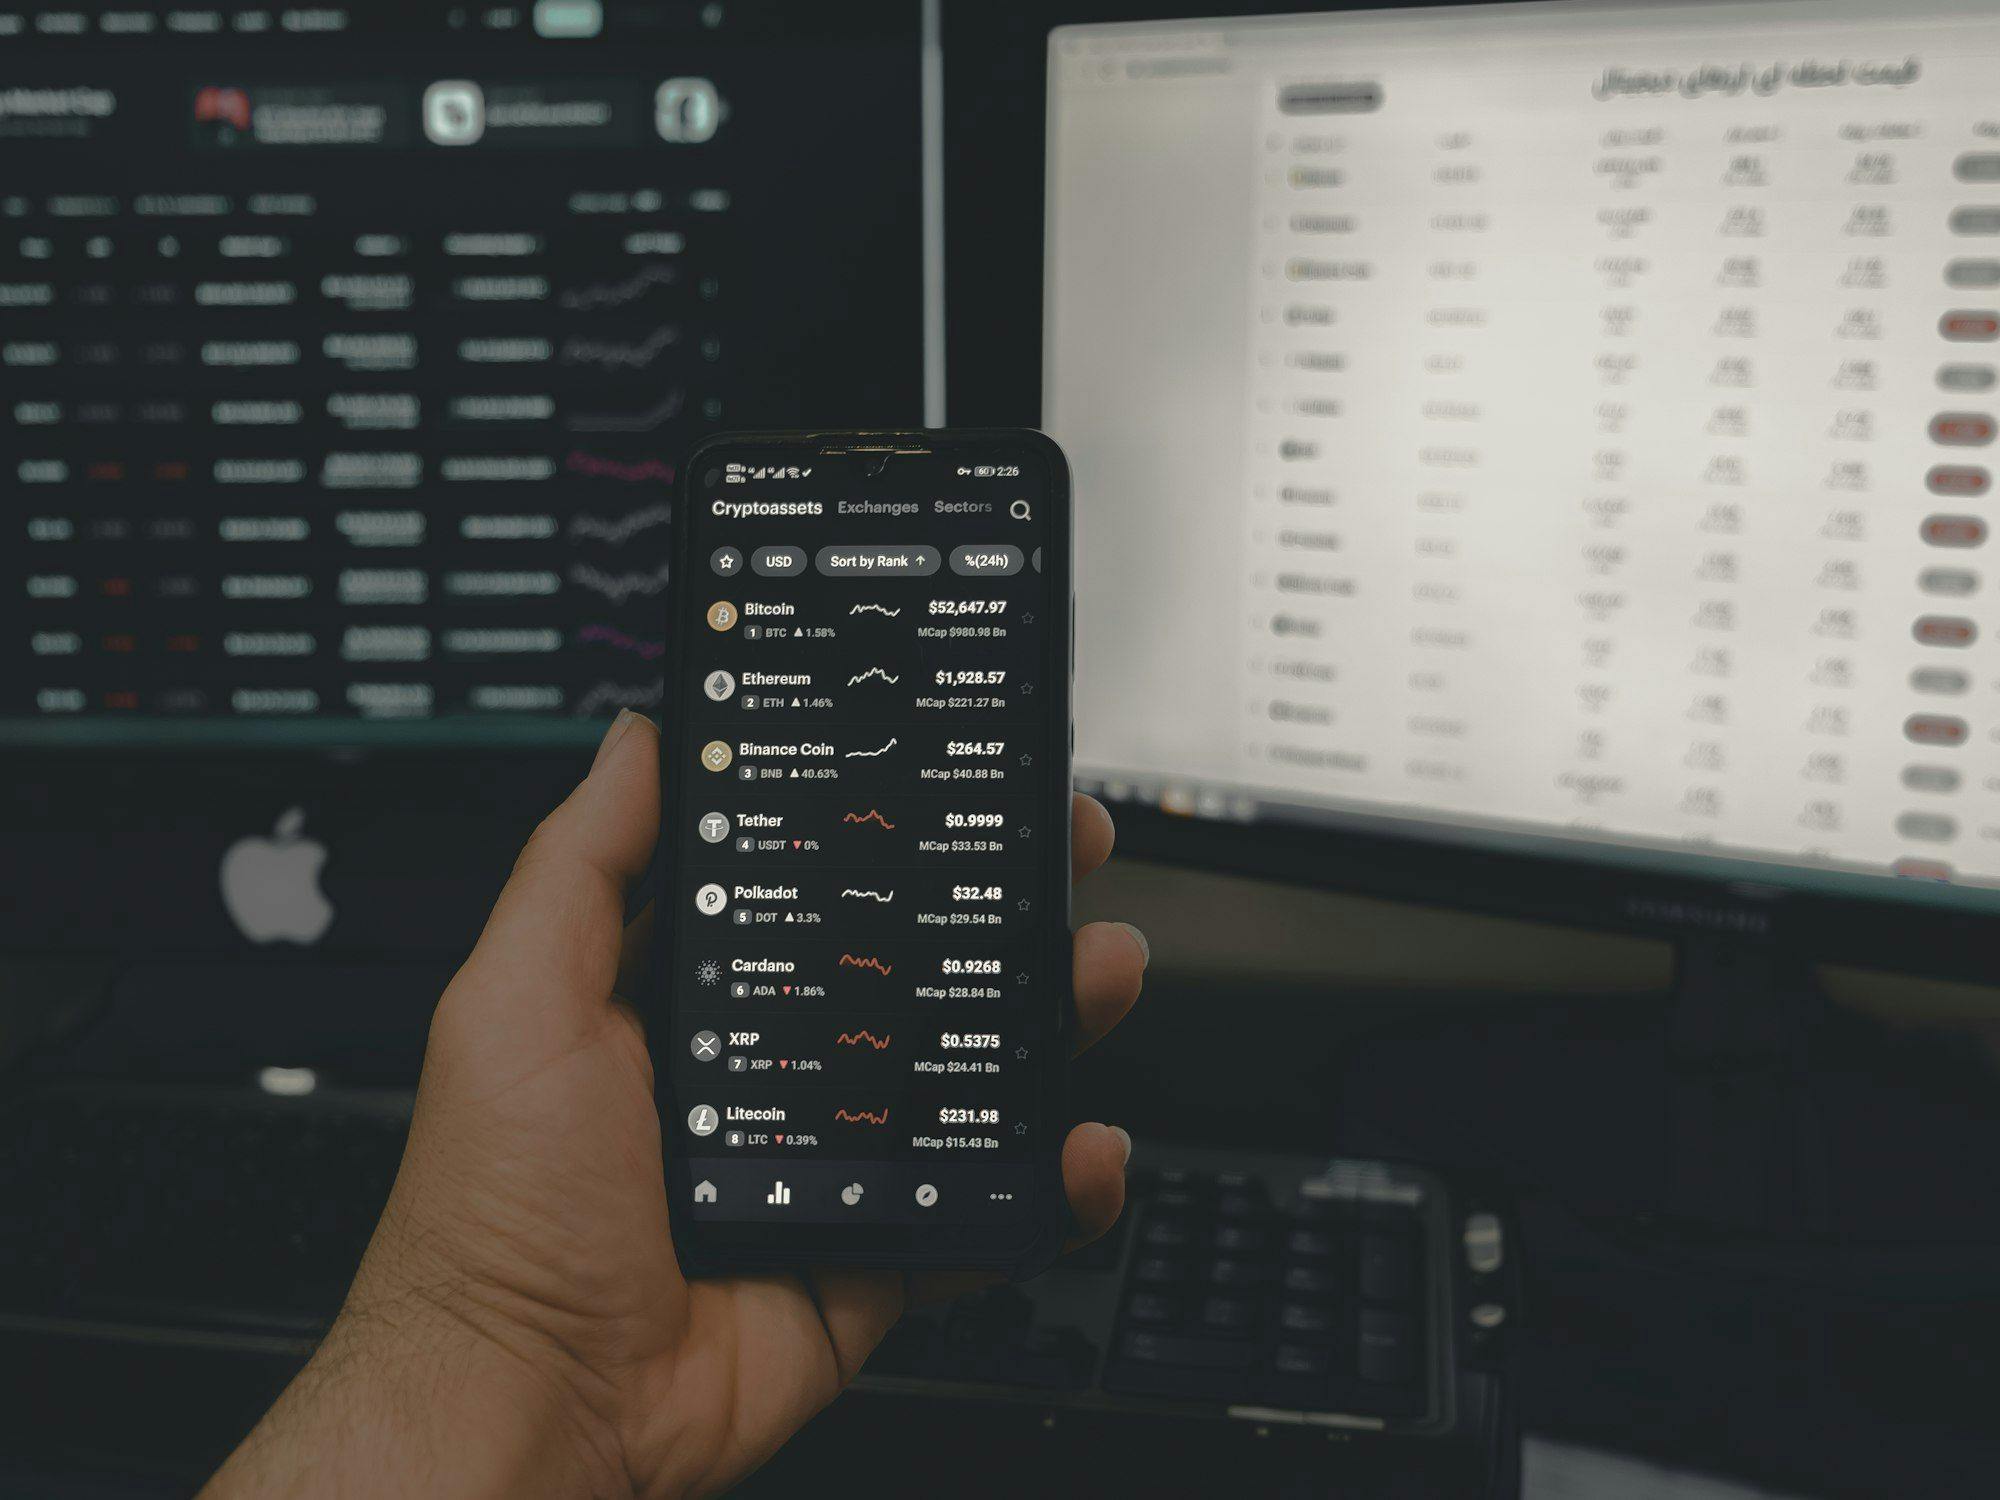
Step 5: Query NFT Listings
Identify Smart Contract Methods
Identifying the specific methods within a smart contract is essential for interacting with NFT marketplaces on the NEAR blockchain. Each marketplace operates through its smart contracts, which include various methods for managing and retrieving NFT listings.
To effectively work with these marketplaces, you need to:
- Research the Marketplace Documentation: Start by exploring the official documentation or GitHub repositories of the NFT marketplace you're interested in. Look for details about their smart contract interfaces.
- Understand Contract Methods: Focus on understanding the methods that allow you to retrieve NFT listings, such as those for fetching available NFTs, querying details about specific NFTs, or listing new NFTs for sale.
- Experiment with Testnet: Many marketplaces offer a version of their contracts on the NEAR Testnet. This environment allows you to call contract methods without spending real tokens, providing a safe space to experiment and learn.
Step 6: Execute Your Code and Process Data
1- Run Your Script
To execute your script for fetching NFT listings from a NEAR smart contract, follow these concise steps:
- Check Environment: Ensure Node.js, npm, and near-api-js are installed.
- Open Terminal: Navigate to your project directory.
- Run Script: Execute node yourScriptName.js, replacing yourScriptName.js with your file name.
- Observe Output: Watch for the script's output or any error messages in the terminal.
- Debug if Needed: Troubleshoot any issues based on error messages, focusing on connectivity, method names, or arguments.
- Analyze Data: Review and process the NFT listing data as required.
2- Process the Data
Processing NFT listings data efficiently is crucial for making it usable for applications or analysis. Once you receive the data from a smart contract call, you’ll likely need to undertake several steps to refine and adapt it for your specific requirements. Here’s an expanded breakdown of these steps:
1- Parse Data:
Begin by converting the raw data from the blockchain into a structured format that’s easier to work with, such as JSON. This transformation makes the data readable and accessible for further processing steps.
2- Filter Data:
Identify and isolate the data points that are most relevant to your project or analysis needs. Filtering helps in focusing on the information that matters most, reducing noise and improving efficiency.
3- Extract Information:
Dive deeper into the filtered data to pull out specific details that are crucial for your application. This might include extracting NFT metadata, owner information, transaction history, or other attributes defined in the NFT standards.
4- Convert Formats:
Depending on your end-use case, you may need to convert the data into different formats. For example, you might convert numerical data into strings, timestamps into readable dates, or restructure JSON objects for better compatibility with your databases or front-end interfaces.
5- Analyze and Use Data:
With the data now in a usable state, analyze it to uncover insights or integrate it into your applications. This could involve statistical analysis, feeding data into machine learning models, or displaying information in user interfaces.
6- Store Processed Data:
Consider storing the processed data in a database or a file system for easy access and future use. Efficient storage solutions will enable quick retrieval and manipulation of the data for various applications, such as trend analysis or market monitoring.
7- Ensure Data Integrity:
Throughout the processing stages, maintain the integrity of the data. Ensure that the transformations and conversions do not distort the original meanings or values, especially when dealing with financial or ownership information.
To Sum It All Up
Navigating NFT listings on NEAR involves understanding its blockchain and NFT standards, utilizing development tools like Node.js, and interacting with smart contracts. As the NEAR continues to evolve, staying informed and adaptable is key to leveraging opportunities in the blockchain.
Want to Know More About Indexing?
Check out Indexer.xyz for straightforward access to blockchain insights. Our Indexer API offers a straightforward way to discover important information and manage blockchain data effectively for your indexing needs!